
Configure an exercise for load control
Load control is not switched on client by client: it is configured once per exercise in your library. Each exercise needs three pieces of data to contribute to load. Without them, the exercise can still be programmed and logged, but it will not show up in the client's load control.
Where to configure it
Go to Library → Exercises and click the exercise to open the editor. The Workload control section is the last one in the right column, below Classification; next to the title you'll see how many of its three fields are filled in (for example, "0 of 3"). You can also fill it in when you create an exercise.
It works the same with exercises from TrainerStudio's libraries: open it, set up the workload and save. A copy with your values is created in your library and the original doesn't change.
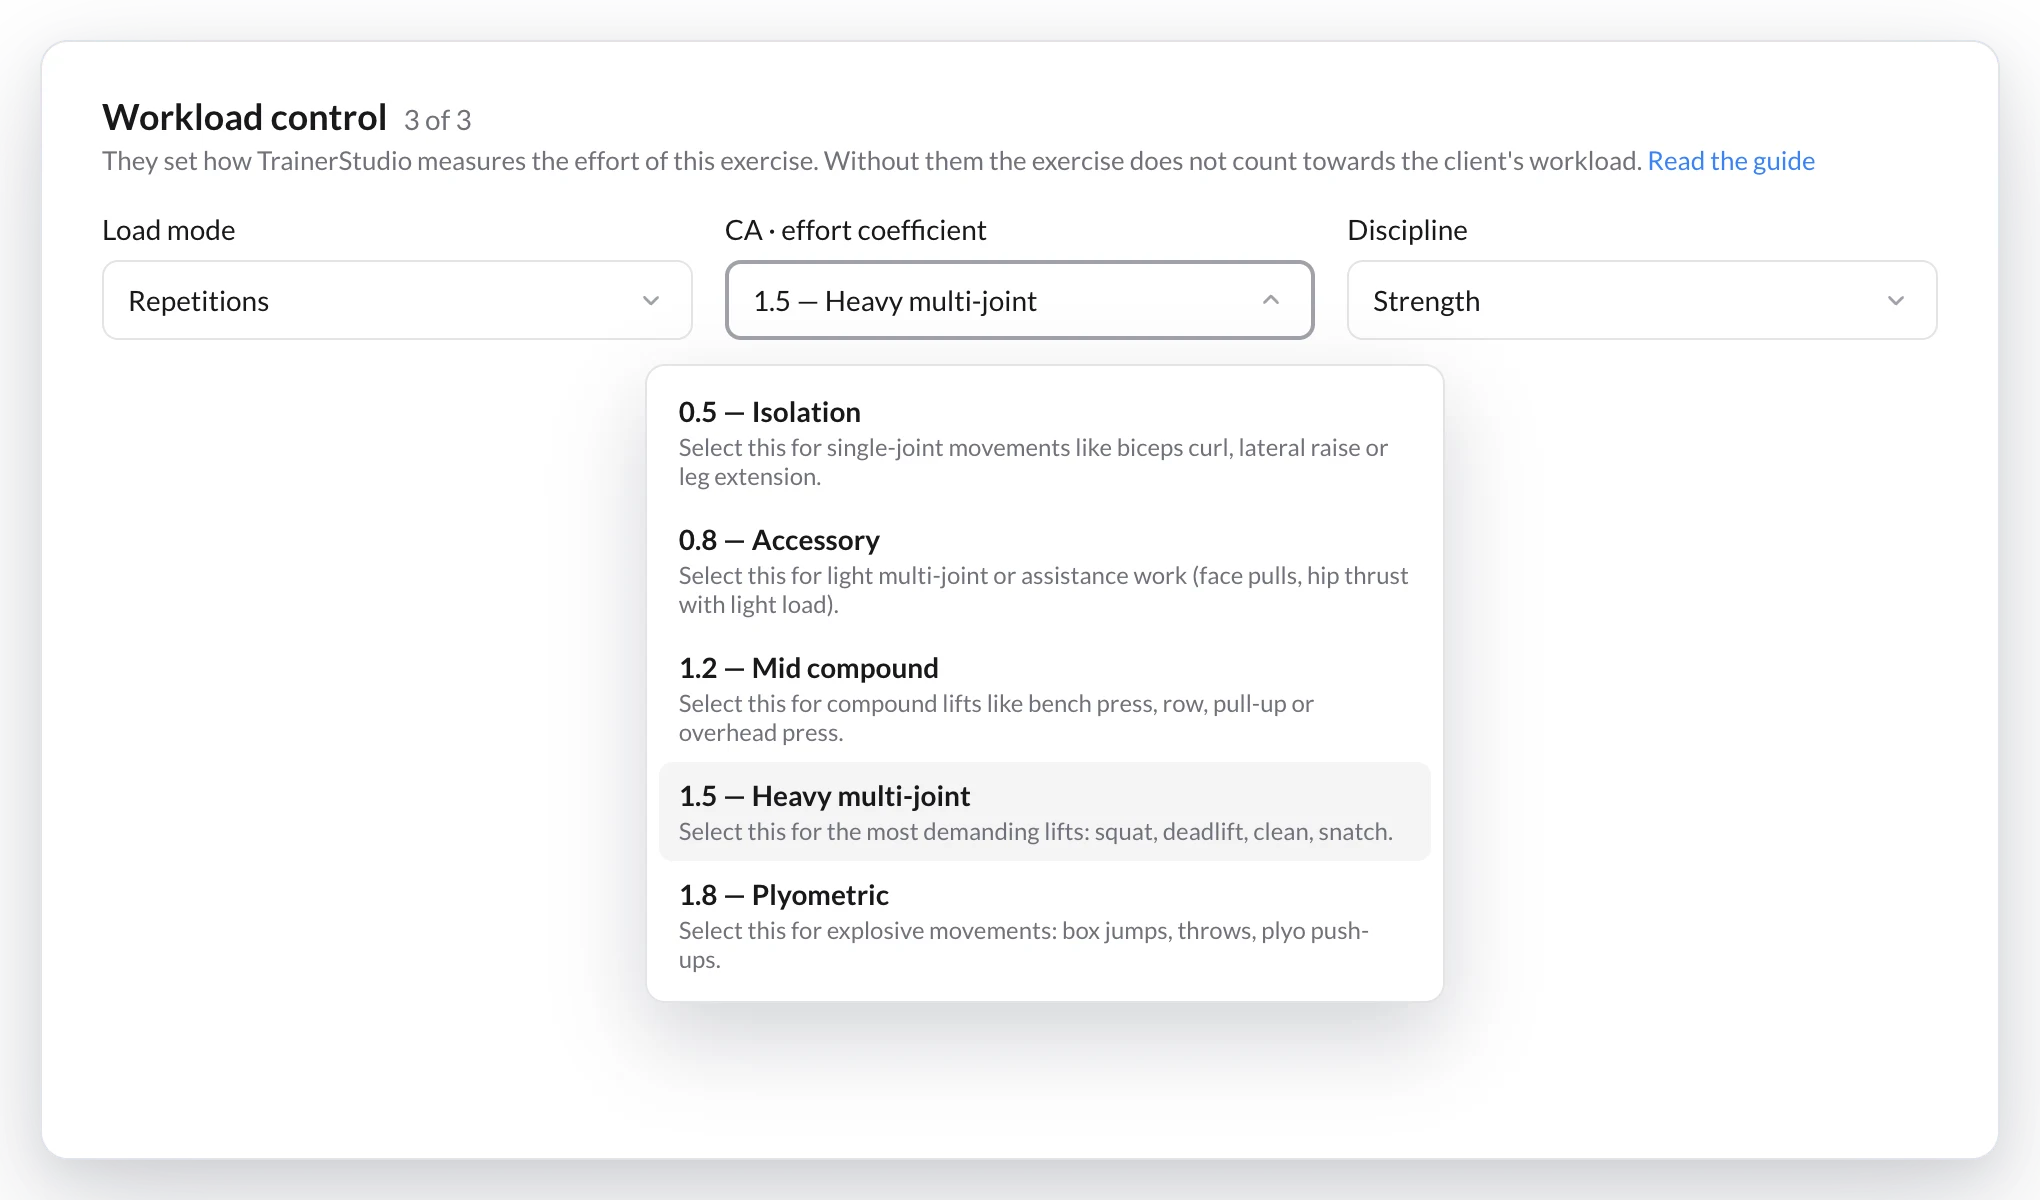
The three workload control fields in the exercise editor. Each CA option comes with a description so you can choose with confidence.
1. Load mode
It defines how the exercise's volume is measured, and therefore how its working minutes are calculated:
- Repetitions — the exercise is measured by sets × reps (strength, plyometrics).
- Time — it is measured by working time (isometrics, planks, timed cardio).
- Distance — it is measured in kilometers (running, cycling, swimming, rowing).
The details of how minutes are calculated for each mode are in Layer 1 · Internal load.
2. CA · effort coefficient
The CA captures how much stress the exercise causes per unit of work. It is the most important decision and the one that requires the most judgment. The dropdown offers five values, each with examples:
| Value | Label | When to choose it |
|---|---|---|
| 0.5 | Isolation | Single-joint: biceps curl, lateral raise, leg extension. |
| 0.8 | Accessory | Light or assistance multi-joint: face pulls, light hip thrust. |
| 1.2 | Mid compound | Compounds: bench press, row, pull-up, overhead press. |
| 1.5 | Heavy multi-joint | The most demanding: squat, deadlift, clean, snatch. |
| 1.8 | Plyometric | Explosive: box jumps, throws, plyometric push-ups. |
What matters is not hitting a "correct" value (there is none), but being consistent across your whole library. If bench press is 1.2 in your system, keep that criterion always. You will find the full conceptual framework in The CA coefficient.
3. Discipline
It sets the type of activity: Strength, Cycling, Running, Swimming, Rowing, CrossFit or Other. It is used to interpret intensity with the right reference for each sport (for example, %FTP in cycling or %critical velocity in running). See Intensity sources.
Several exercises at once
On a computer, tick the exercises' checkboxes in Library → Exercises and click Edit in the bar that appears. Under Workload you can Replace the load mode, CA and discipline of all the selected exercises, or Clear those fields. It only works with exercises in your library: to set up one from a TrainerStudio library, open it and save it first so your copy is created.
Good to know
- It is configured once. The three fields live in the exercise in your library, so they apply to every client who has it, with no extra work per client.
- They are optional, but required for load. An exercise without a load mode or without a CA does not contribute to AU load and will appear as a warning on the client's page (see Read the load control page).
- Consistency rules. Spend a little time reviewing the CA of your most-used exercises; from then on, load control is automatic.
How to monitor training load?
Complete guide to load control in TrainerStudio — the three-layer framework (internal load in AU, external metrics and derived indicators) and how to use it to program, compare and monitor your clients' effort.
Fill in the client's fitness profile
How to record HRmax, resting HR, FTP and critical velocity in the client's fitness profile so TrainerStudio can translate cardio and endurance intensity into load (AU).